DIY wood chandeliers are exciting and rewarding projects. This is a simple guide to how to complete it in five easy steps.
The acquisition of materials and tools:
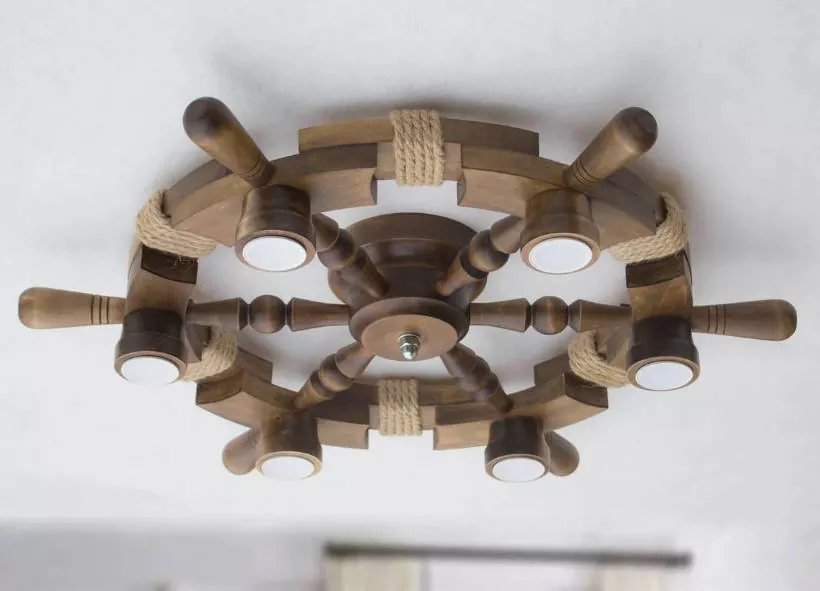
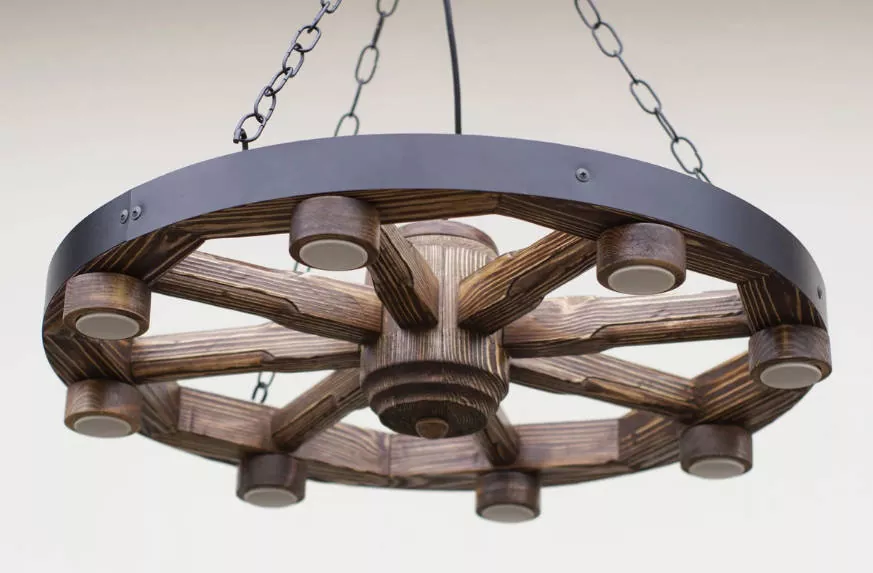
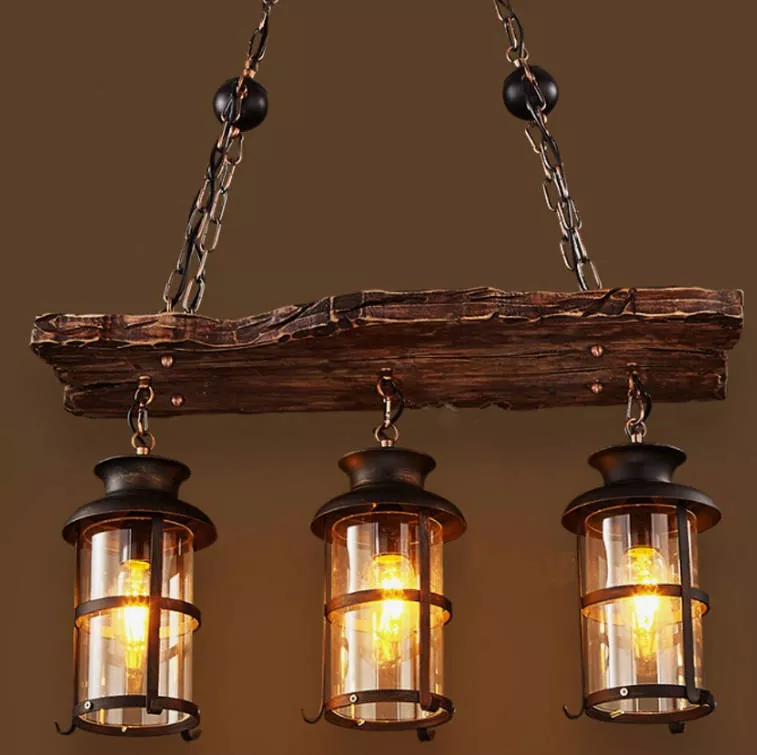
Selecting the right type of wood that meets your financial and aesthetic requirements is crucial.
Reclaimed, reclaimed and pine wood are all good choices.
Lighting Kit: Buy a lighting kit for your pendant that comes with socket, cord and canopy.
Hardware: When building your chandelier, you will require screws, hooks as well as other items such as chains.
Tools: Get the essential tools, such as a screwdriver, a drill (for cutting wood), sandpaper, measuring tape, and a saw.
2.Design and Plan
Draw your chandelier’s design with care, taking into account the dimensions and shape
as well as how many lights you plan to incorporate.
Measure and mark the wood to match your design making sure to consider the length of pendant light cords.
3.Saw and cut pieces of wood:
Cut the wood according to your design with saw blades.
Smooth out the edges and surfaces of wooden pieces by sanding away any imperfections or rough edges that may be present.
The wood pieces are assembled to form the desired shape using wood glue and screws like creating frames, arms, or any other structural components to create your chandelier.
4.Install the Lighting Kit
To wire the pendant light kit properly adhere to the steps provided to connect its canopy and socket.
Connect the cord of the pendant light to the center of the wood chandelier structure using hooks or other necessary hardware, and secure it accordingly.
Assuring that your light’s cord is correctly and safely insulated and securely connected to the socket is vital.
Finalize and put in:
Use stain to add a protective coating to your wooden chandelier.
You can pick between paint or clear sealant depending on the needs of your business.
Allow the finish to fully set before installing the chandelier.
Place the chandelier in the location you want it to be.
ensuring it is secured at the right height according to its weight and dimensions.
Check that the cord for your pendant light isconnected to a source of power and then examine the chandelier to verify the functioning.
By following these steps,
You can create a wood chandelier to add personalization and a unique look to any room.
Feel free to modify the design and materials according to your personal preferences and needs.