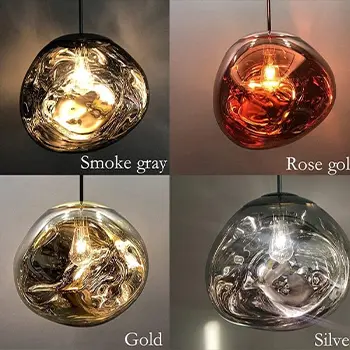
diy lava lamp
Creating your own DIY lava lamp can be a fun and engaging project. Here’s a simple method to make a basic lava lamp using common household items:
Materials Needed:
- A clear, empty plastic bottle with a cap (recycled soda bottles work well)
- Water
- Vegetable oil
- Alka-Seltzer tablets
- Food coloring
- A flashlight (optional)
Instructions:
1. Prepare the Bottle:
- Ensure the plastic bottle is clean and dry.
- Remove any labels or residue from the bottle.
2. Fill the Bottle:
- Fill the plastic bottle about two-thirds full with vegetable oil.
3. Add Water:
- Fill the remaining third of the bottle with water. Leave some space at the top.
4. Add Food Coloring:
- Add several drops of food coloring to the water. The color you choose will be the “lava.”
5. Break Alka-Seltzer Tablets:
- Break an Alka-Seltzer tablet into a few small pieces. You can experiment with the size of the pieces to control the speed of the reaction.
6. Drop Alka-Seltzer into the Bottle:
- Drop a piece of the broken Alka-Seltzer tablet into the bottle.
7. Watch the Magic:
- Screw the cap onto the bottle and give it a gentle shake to mix the oil, water, and food coloring.
- Now, place the bottle on a flat surface and observe. As the Alka-Seltzer reacts with the water, it creates carbon dioxide gas bubbles that carry droplets of colored water to the top. When the gas bubbles reach the top, they pop, and the water droplets fall back down, creating the “lava lamp” effect.
8. Repeat the Process:
- Once the reaction slows down, you can add more pieces of Alka-Seltzer to keep the lava lamp effect going.
Tips:
- Experiment with different colors and amounts of food coloring for varied effects.
- Adjust the size of the Alka-Seltzer pieces to control the speed and intensity of the reaction.
- Use a flashlight to shine light through the bottom of the bottle for a more dramatic effect.
This DIY lava lamp is a great science experiment and provides an entertaining and visually appealing result. It’s a fantastic project for kids or for anyone who wants to add a touch of retro-inspired fun to their space.
