Creating a drawing of a lava lamp can be a fun and creative activity.
Here are four steps to help you draw a lava lamp:
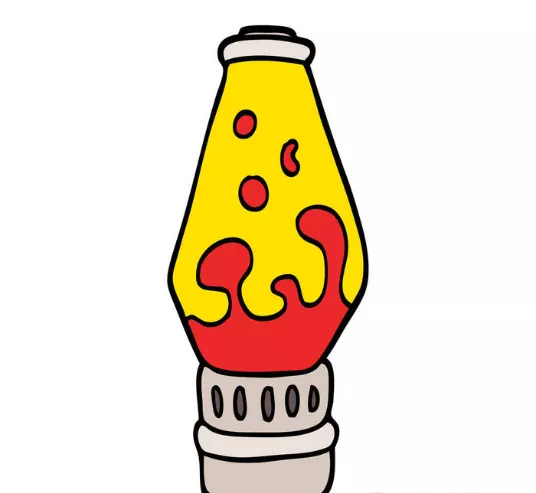
1.Sketch the Basic Shape:
- Start by sketching the basic shape of the lava lamp.
- A lava lamp typically has a cylindrical or conical base with a curved top.
- Use light and simple lines to outline the overall form.
2.Add Details and Features:
- Enhance your drawing by adding details to the lamp.
- Include features like the base, where the liquid sits, and the cap or cover at the top.
- You can also draw the metal or plastic band that separates the base from the cap.
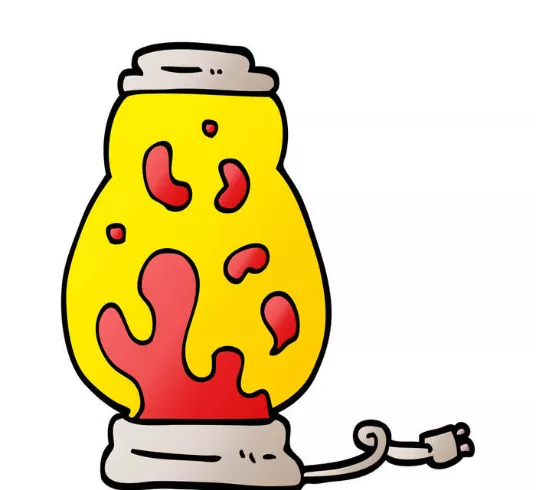
3.Draw the “Lava” and Liquid:
- To represent the “lava” inside the lamp, draw irregular, flowing shapes that start at the bottom and rise toward the top.
- These shapes can be organic and uneven, mimicking the appearance of flowing liquid.
- Remember that lava lamps often have blobs of different sizes and colors.
4.Add Lighting and Shading:
- To give your drawing depth and realism, add lighting and shading. Decide on the direction of the light source and add shadows accordingly.
- Darken areas that would be in shadow, such as the underside of the lamp’s cap and the side opposite the light source.
- Remember that the key to a successful drawing is practice, so don’t be afraid to experiment with shapes and colors.
- Feel free to add your own creative touches, and have fun with the process.
- If you’re using colors, you can experiment with different combinations to make your lava lamp drawing even more vibrant and visually interesting.